Translate

Updated for Project Manager 4
Every 3D asset library starts out organised. The trouble begins when the folder that once held forty chairs holds four thousand.
It helps to separate two things that are easy to confuse. A library has a storage layer — where files physically sit on disk — and a retrieval layer — how you get to them.
Most libraries go wrong because their owners try to solve retrieval with storage, burying assets ever deeper in the hope that the right model will one day be exactly where they expect it.
It never quite is, and the tree grows another level.
Folders decide where files live; queries decide how you reach them. Each gets simpler once it stops doing the other’s job.
What Folders Are Actually For
Before adding another subdirectory, ask what the folder structure genuinely decides. In practice, four things:
- Where the data physically sits — a fast local SSD for daily work, a network share for the archive.
- What gets backed up, and how often. Backup scopes follow folders, not tags.
- What travels — to the laptop, to a subcontractor, to the client at handover.
- Who has access. Permissions are set on directories.
“So that I can find the chair” is not on the list, and once you stop asking your folders to answer it they get considerably easier to design.
Defining the Main Categories
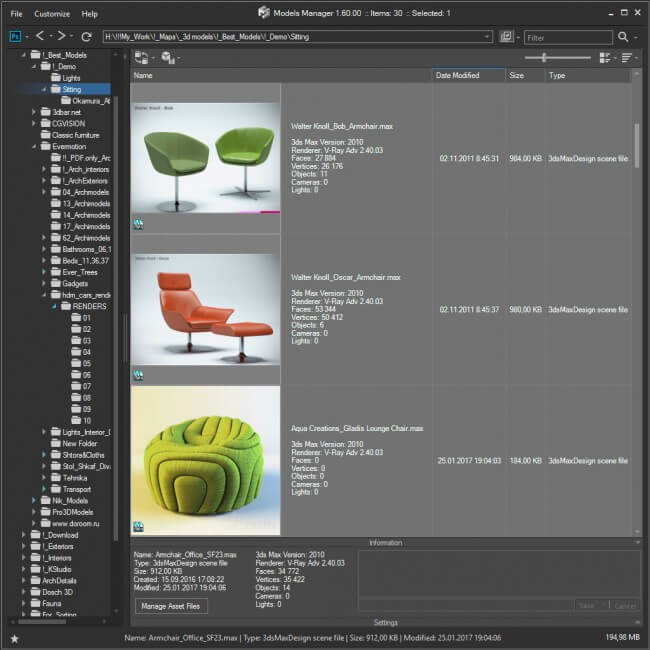
Project Manager splits assets by kind, with a separate tab and tree for each: Models, Materials, Textures, and IES.
Mirroring that at the top level of your disk keeps things predictable — one root per asset type, and no wondering whether the HDRIs ended up under textures or under lighting this time.
Keep the Folders Shallow — the Category Tree Need Not Be
Within each root, create subdirectories that follow the way you actually buy and receive assets: by supplier, by collection, by broad type. Two or three levels is usually plenty.
Interior → Living Room → Seating → Chairs → Dining → Wooden is a perfectly good description of a chair. It is a poor way to store one.
Every folder level is a decision you make by hand, for every file, forever — is this a dining chair or a side chair? It cannot be both, because a file lives in exactly one place, and changing your mind later means physically moving things about.
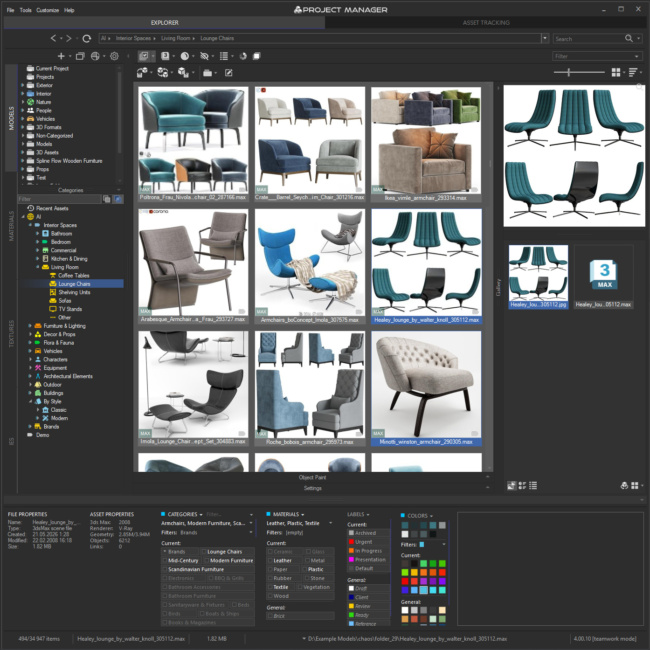
A level in the category tree costs none of that. AI-generated categories can add as much detail as you need without changing the physical structure at all. An asset can sit in several branches at once, and you never have to walk the tree to use it: filtering on Furniture includes everything beneath it, and typing into the category filter narrows the tree to the slice you want.
Keep the hierarchy on disk shallow and let the category tree be as detailed as it likes.
Catalogues and Categories
Where the physical structure cannot change — supplier folders you would rather not touch, network drives, an archive on another machine — virtual catalogues compose a working view on top of it, gathering directories from several locations without duplicating a file.
Categories go further, holding links to individual assets rather than whole folders.
Both are covered in Organise and Access 3D Assets using Directories, Virtual Catalogs and Categories.
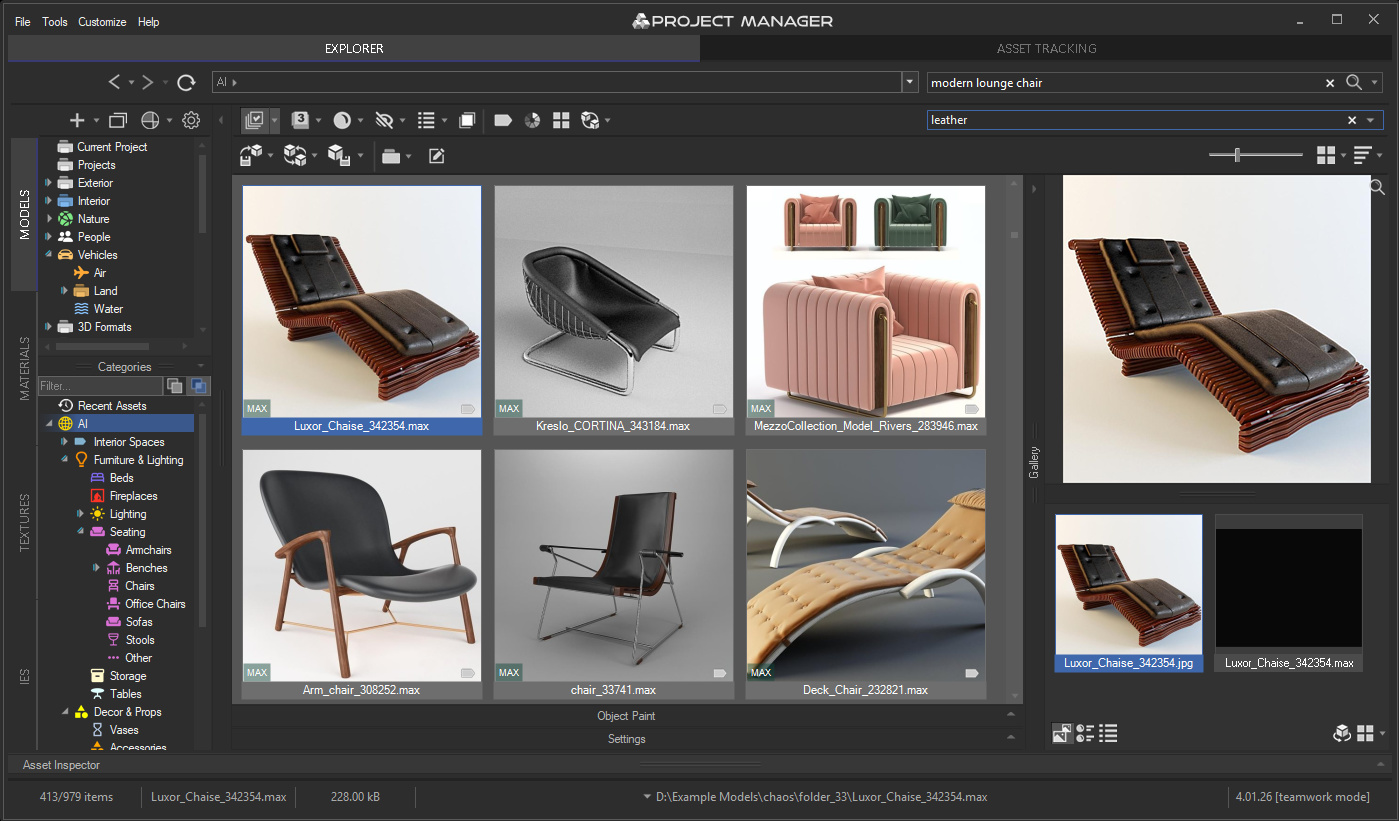
Directories define where assets are stored, while Catalogues and Categories create flexible ways to organise and access them.
Naming Files and Folders
Sensible names still help — in Windows Explorer, in relinking, and in every tool that is not Project Manager. With previews, categories, metadata and AI-assisted search, naming no longer has to carry the full burden of making an asset discoverable.
An asset called 01_final_v3.max used to be effectively lost, with no route back except memory. The old advice to rename your entire library before you begin can be quietly retired.
Let the AI Do the Tagging
Project Manager 4 classifies your 3D models automatically, reading each model’s preview and assigning categories by object type, style, and the material it can see — glass, wood, metal, fabric.
For furniture and lighting it also recognises the brand.
Nothing moves. Classification is entirely virtual: not one file changes location, not one folder is rewritten.
If you dislike the result you can delete it without consequence.
You stay in charge. AI-assigned categories are visually distinct from the ones you made by hand, and the Categorised / Uncategorised filters show what is still outstanding, so the remainder can be cleared in batches rather than in one sitting.
Preview quality feeds straight through.
The classifier sees exactly what you see on the thumbnail. Dark, empty, or purely technical previews are recognised less reliably; generate proper thumbnails for those and send them back for reclassification.
What the AI Does Not Organise
Automatic classification applies to 3D models. Textures are not automatically assigned semantic categories; instead, Project Manager analyses them by colour, either by picking from the palette or by matching the full colour profile of a reference image. For models, colour also works as an ordinary word in a search query.
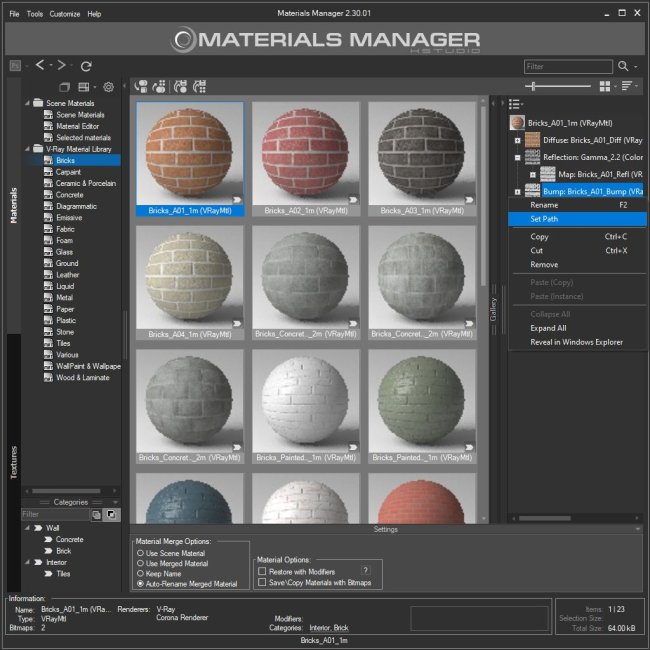
Material libraries are a separate matter. .mat files are browsed through the Materials tab, where you can inspect the material tree and every texture a material depends on. Organising them remains a manual job.
IES files are yours to arrange — folders and categories, as before.
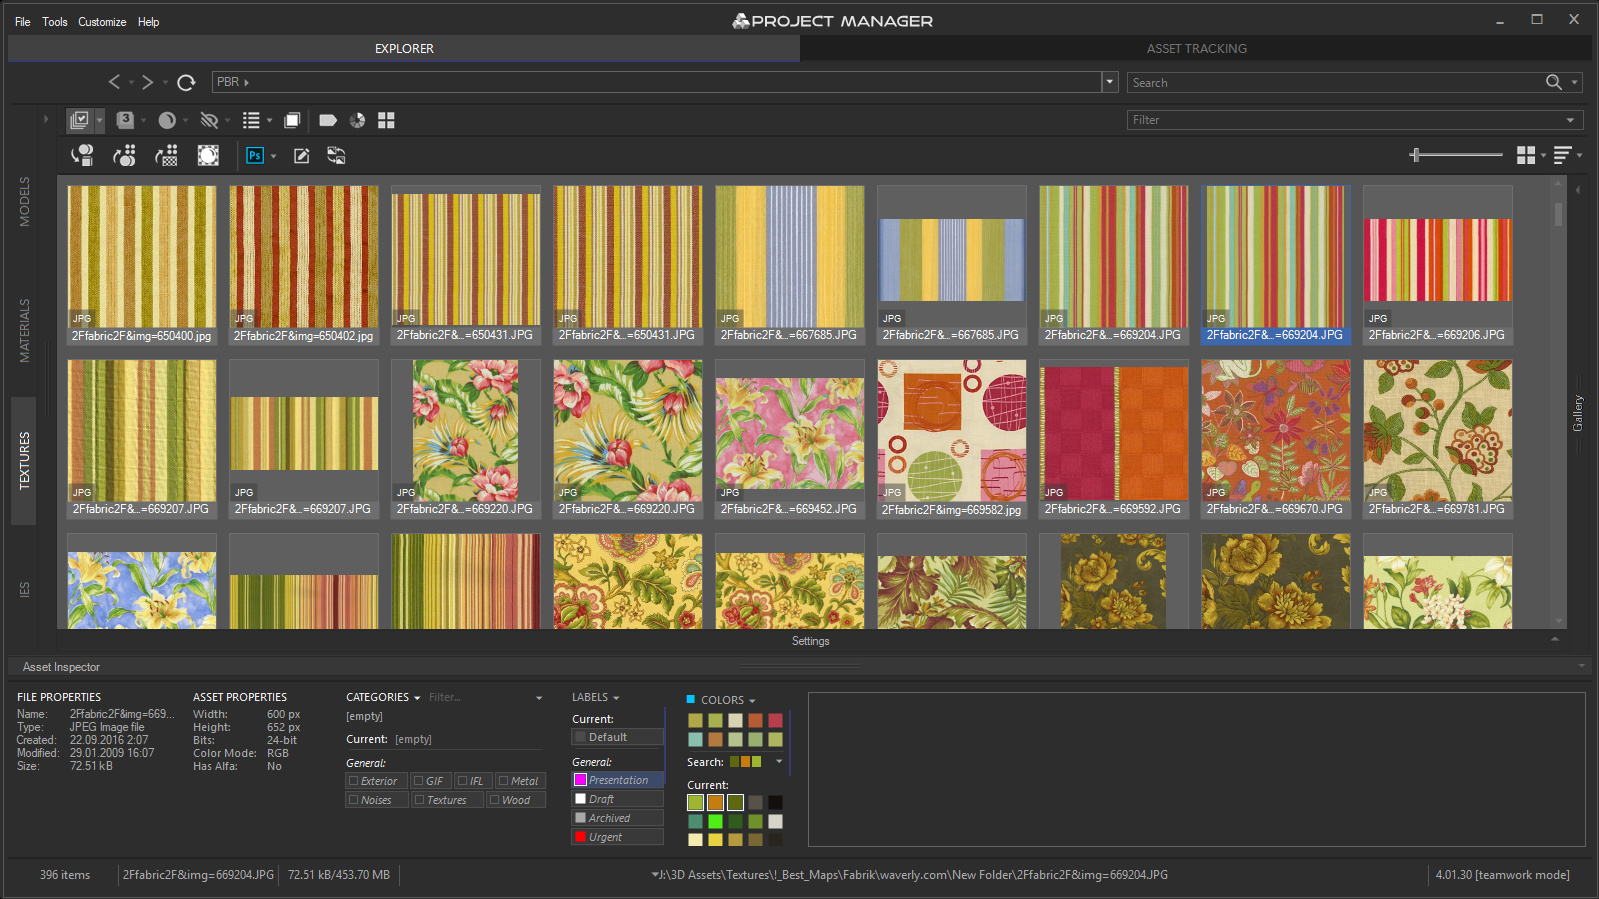
Textures can be found by colour — from a palette or by matching the colour profile of a reference image.
Finding Instead of Browsing
The practical consequence is that you no longer navigate to an asset — you describe it, or show it.
Type what you are after in plain words rather than filenames — dark leather armchair with metal legs — in your own language. Everyone can search the same asset library naturally, without the studio first having to agree on a common naming or tagging vocabulary.
And when there are no words for it, a client’s photograph, a colleague’s render or a rough pencil sketch works as the query instead, saved as a reusable set you can return to weeks later.
Both are covered in The Asset Library That Organises Itself and The Asset Browser That Understands You.
AI Text Search
Describe the model you need in plain words, in your own language.
Find Similar
Use a model, photograph, render or sketch as the search query.
Working on Projects
A project has a beginning and an end and eventually has to be handed over intact. Give each project its own root and keep all project-specific files inside it; shared library assets can remain in the central library while the project is active.
Year /
└── Client Name /
    └── Year-Month-Date Project Name /
        ├── Project
        │   ├── Backups
        │   └── Variants
        ├── Output
        │   ├── Draft
        │   └── Final
        ├── References
        └── Assets
- Project — working scenes, with a subfolder for backups and variants.
- Output — renders, split into draft and final.
- References — photographs, plans, anything the client sent.
- Assets — XRefs and textures belonging to this project specifically.
Alongside it, create a category for the job and add the assets you expect to use. If the client has sent reference photographs, save them as a Reference Set: the same images then serve as queries against your library.
Archiving and Handing Over
Before a project goes to the archive, check what its scenes depend on. The External Links tab lists every texture and asset a .max file references without opening it, so missing maps and paths pointing at a dead drive surface now rather than eighteen months from now.
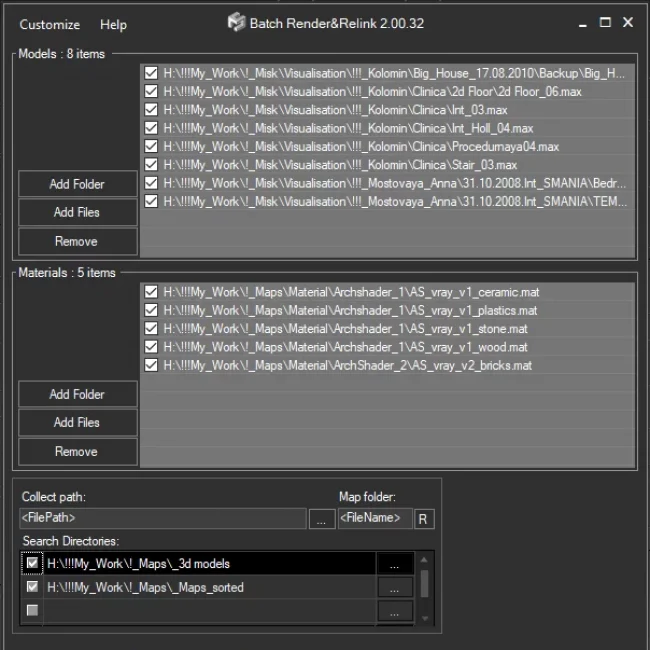
Broken links can be repaired there directly; for larger clean-ups across many scenes there is Batch Render&Relink.
Backup — Including the Database
The 3-2-1 rule is unchanged: three copies, two kinds of media, one of them elsewhere. What has changed is that your files are no longer the whole of your library.
The Project Manager database holds your categories, ratings, comments, preview links and every result the classifier has produced — lose it and the assets are all still on disk, but the organisation is gone.
Project Manager backs up the database automatically on its own schedule, so there is normally nothing you need to remember to do manually.
What deserves a minute of your attention is where those backups are written. Set the backup location to somewhere your existing backup routine already collects — ideally on another physical drive or server.
A backup stored on the same drive as the database protects you against corruption, but not against a failed disk.
In shared database mode, the same principle applies: make sure Project Manager’s database backups are written to a location covered by your server or studio backup routine.
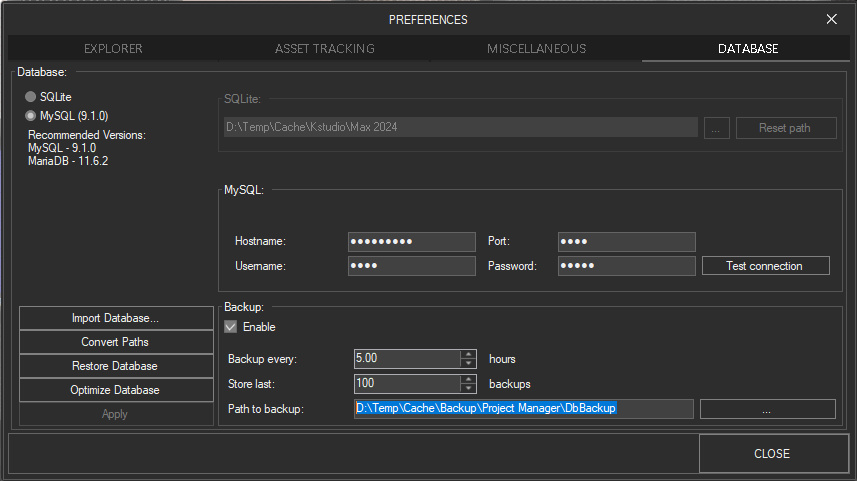
Backups are automatic. The important part is choosing where those backups are stored.
A Short Checklist
- One root per asset type, matching the Models / Materials / Textures / IES tabs.
- Two or three levels of folder depth — detail belongs in the category tree, not on disk.
- Virtual catalogues where the physical structure cannot change.
- Sensible names, but no library-wide renaming project.
- Classification run once, then the remainder cleared through the Uncategorised filter.
- A project folder template you reuse every time.
- The database backup folder pointed somewhere your usual backup routine collects.
How do you organise and structure your asset libraries and projects to keep everything within reach?
Original price was: $60.00.$48.00Current price is: $48.00.Add to Cart