Smart Extrude – 3Ds Max Modifier Plugin
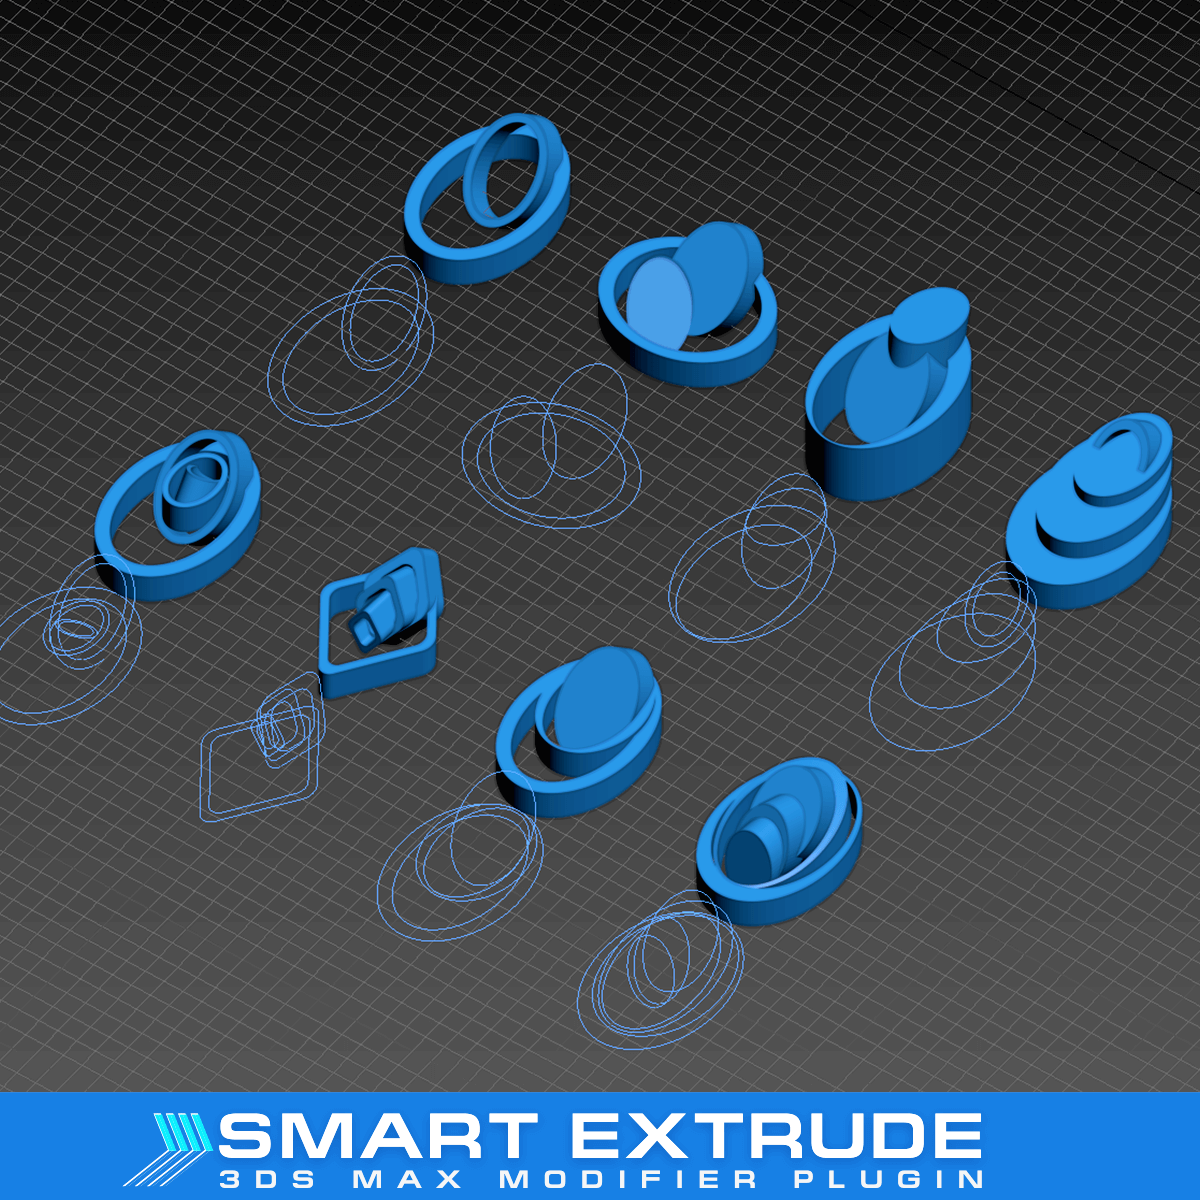
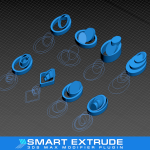
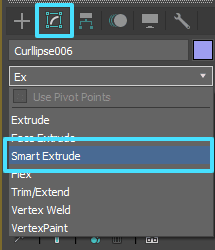
Smart Extrude is a new 3D Max Modifier that ensures the predictable extrusion of multi-spline shapes, depending to their placement across diverse planes or orientations at varying angles.
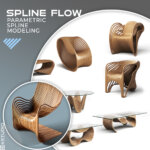
Also, for example, Smart Extrude simplifies the ability to add depth to shapes created with the Spline Flow plugin.
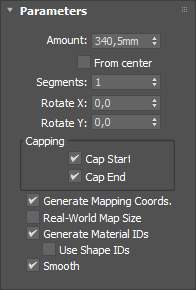
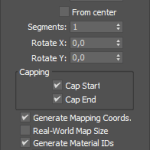
Moreover, Smart Extrude adds the capability to tune the extrusion angle and extrude from the center on both sides of the spline.
$14.00
 Translate









John Shulters (verified owner) –
Oh my gosh…I’ve been waiting for a tool like this for ages! It finally fixes a longstanding issue in 3ds max when the orientation of your spline didn’t match your expectations and gave you wrong extrusion results. Smart Extrude works flawlessly, and even provides extra options for some creativity and exploration.
And I want to say a huge thank you to the folks at Kstudio for making the easiest and most seamless process for ordering, downloading, installing, and authorizing 3ds max plugins. It’s a relief to have an often frustrating process happen so quickly and easily. Thanks team…keep up the great work!
Oleksandr Kramer (verified owner) –
Thank you for your glowing review!