Translate


ATiles Pro
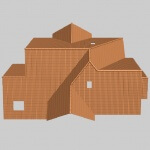
ATiles Pro – 3ds Max plug-in for creating roof tiles, tiled floors, brick walls, fences, and more.
Original price was: $28.29.$26.88Current price is: $26.88.
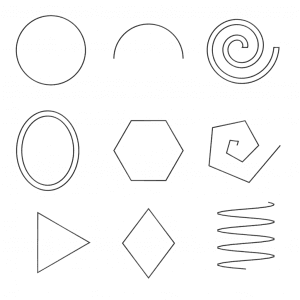
ATiles Pro allows you create all kind of objects with repeatable geometry by defining their size and offset between individual tiles.
Also instead the offset you can define count of the tiles and they will be equally distributed according to the entered dimensions.
User can define angle of the object (useful for roof-tiles), region constrain and many more options in the ATiles object’s parameters.
- Create ATiles object with one click from roof plane, geometry or spline.
- Cache mesh for speed. Store inside ATiles object generated geometry for viewport and render.
- Re-create mode. Rebuild objects without losing material or connection to other objects.
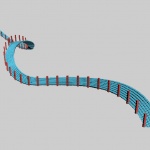
- More advanced tools – Volume, Path(beta) and Surface(beta) tools.
- Random transformations of the tiles – Rotate, Move and Scale.

How to install:
- Download, extract and install the latest version.
- Restart 3ds Max.
- To create ATiles objects go to Create Panel (where you create boxes, planes and so on), from drop-down menu select AvizstudioTools and then press ATiles button.
Manual Start & Installation:
- Download and unzip the desired version. If the version has an installer, install it in empty folder.
- From 3ds Max menu select: MAXScript> Run Script …>AvizStudioTools_ATiles.mse
- If you want to load script automatically, copy “AvizStudioTools_ATiles.mse” file from the archive in 3ds Max root folderscriptsstartup
- UI Buttons and Shortcuts:
To add a keyboard shortcut or toolbar button for ATiles ToolBox go to 3ds Max menu, select: Customize > Customize User Interface… > in “Keyboard” or “Toolbar” tab select Group: Main UI and Category: AvizStudioTools.
Assign keyboard shortcut to “ATiles Tool” from “Keyboard” tab or from “Toolbar” tab drag and drop “ATiles Tool” to a new or existing toolbar to create UI button for the script (for Windows 7 or Vista you may need to run 3ds max as administrator).
| 3ds max compatibility |
|---|
Related to "ATiles Pro"